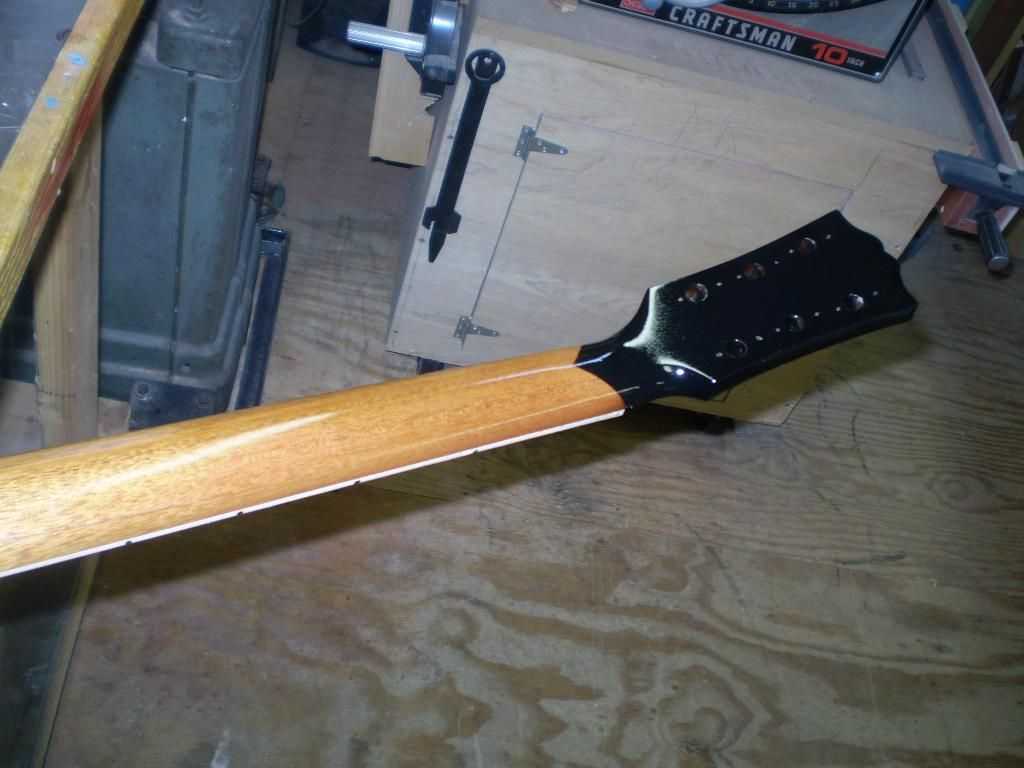
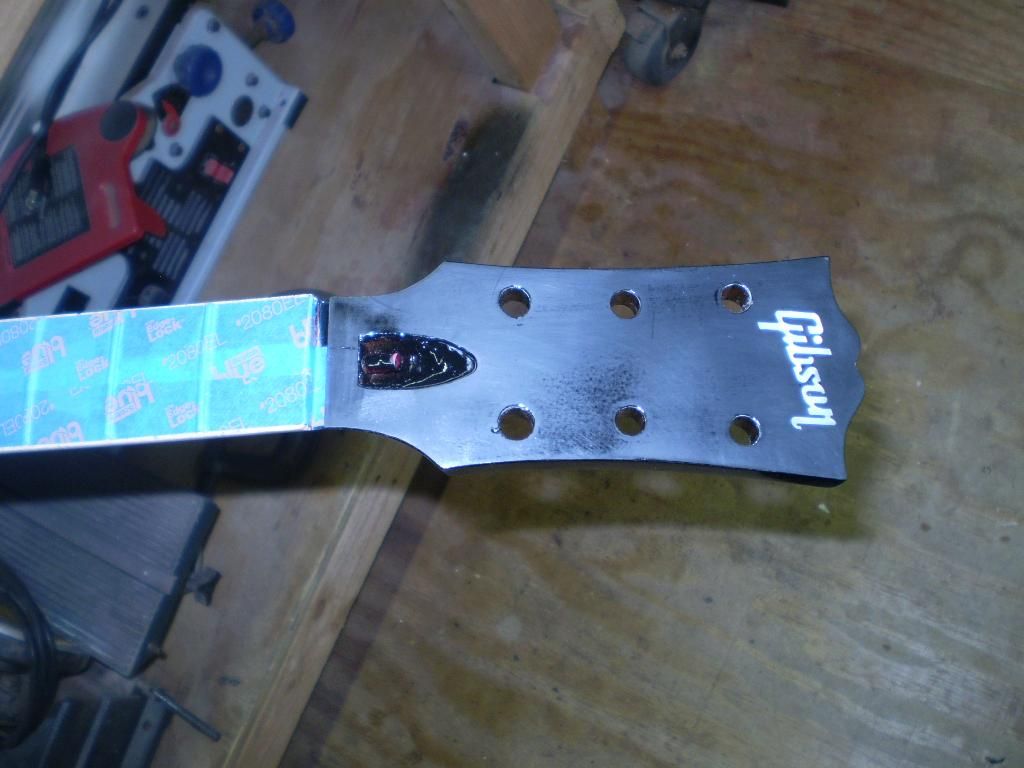
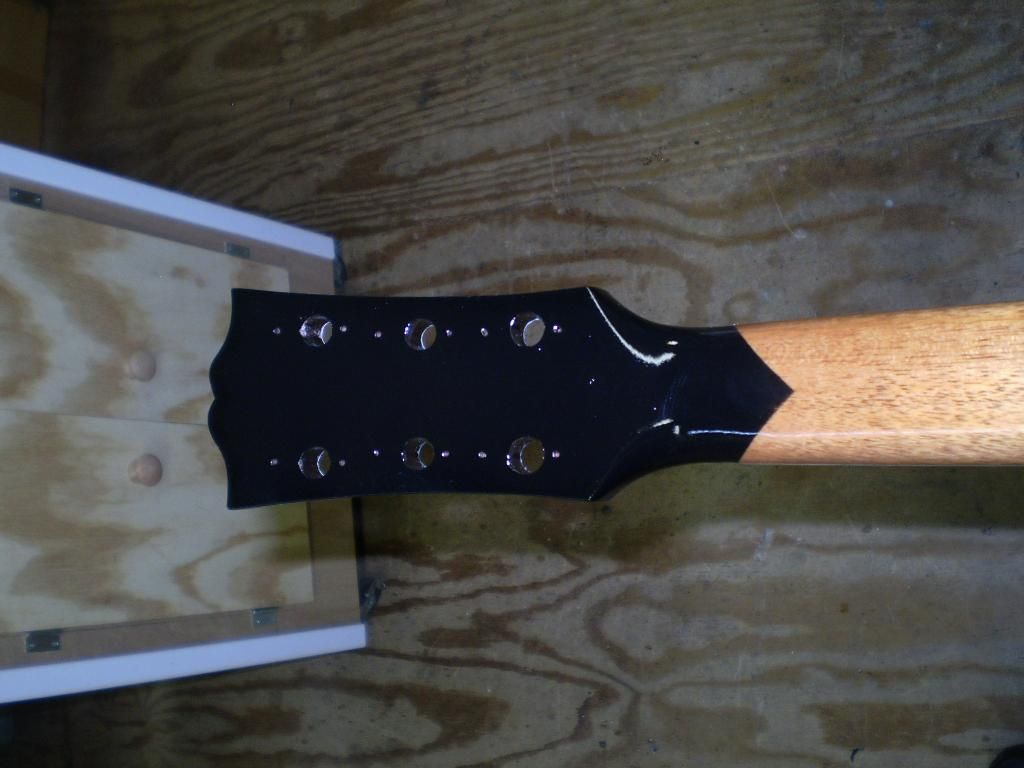
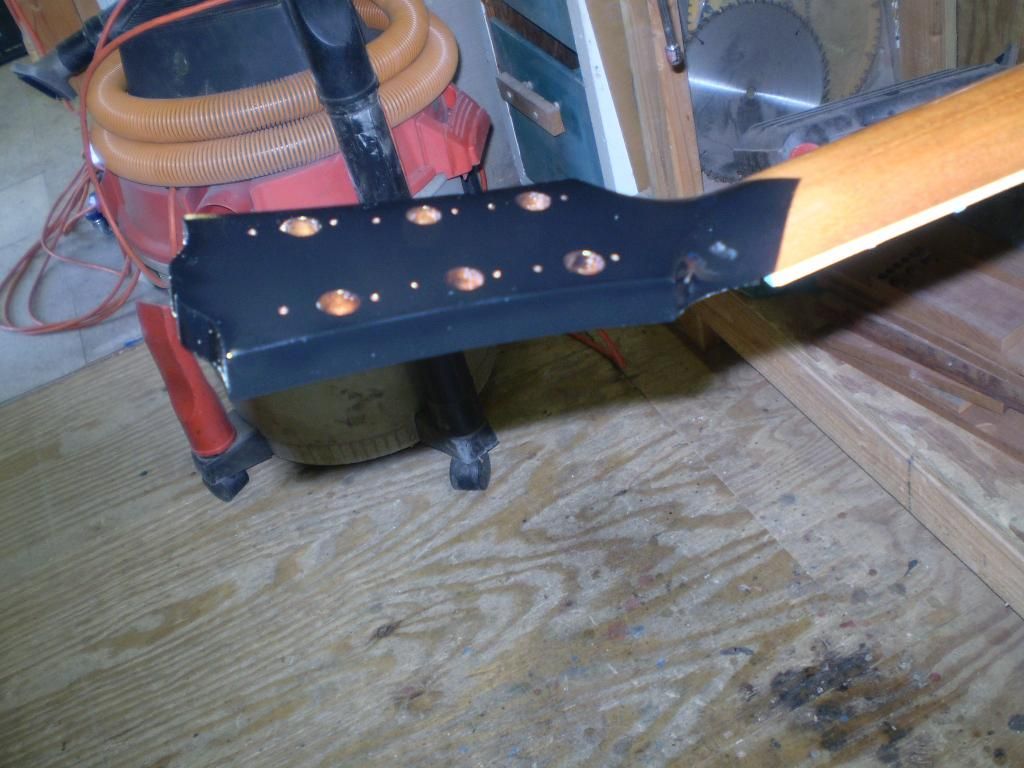
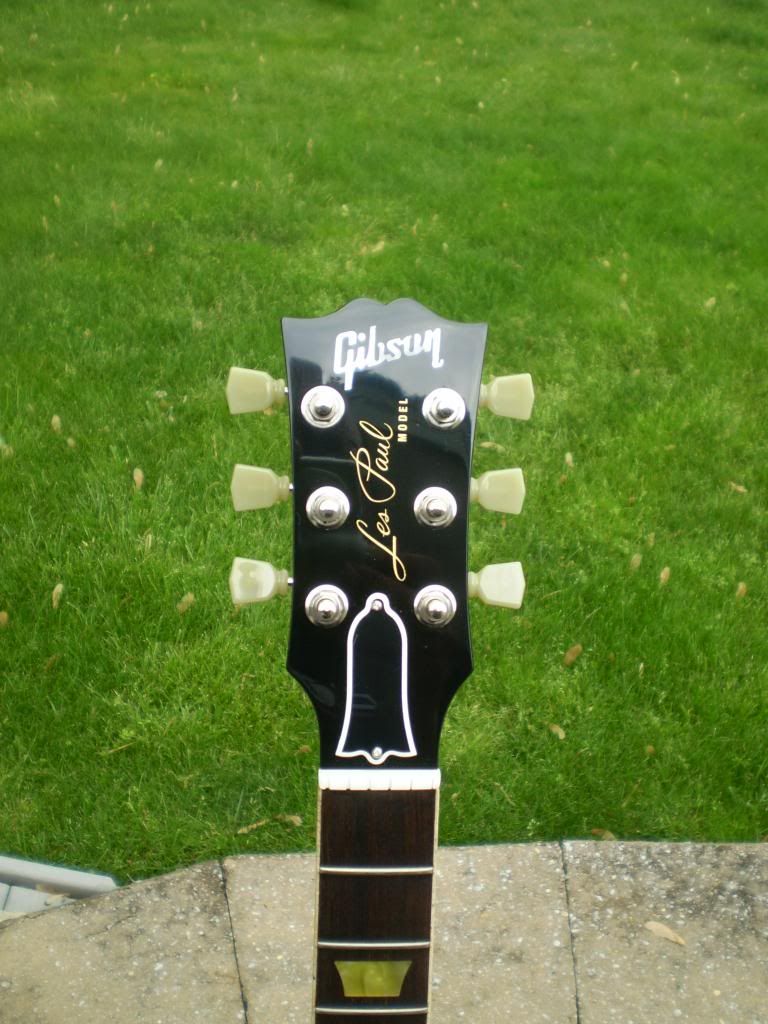
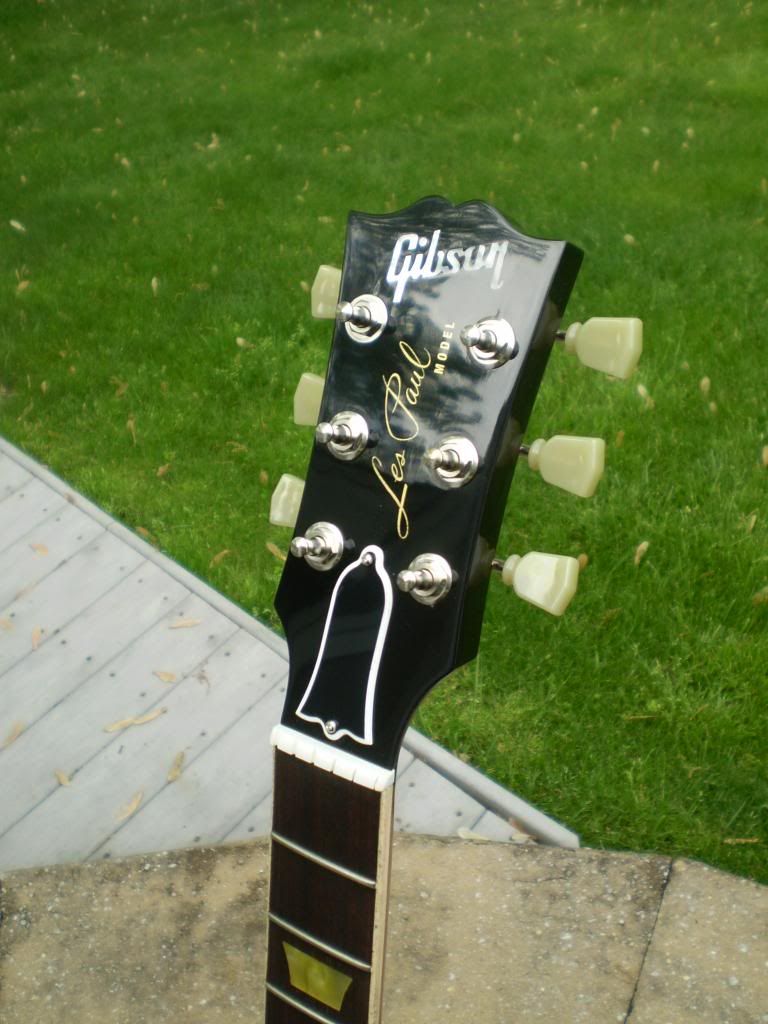
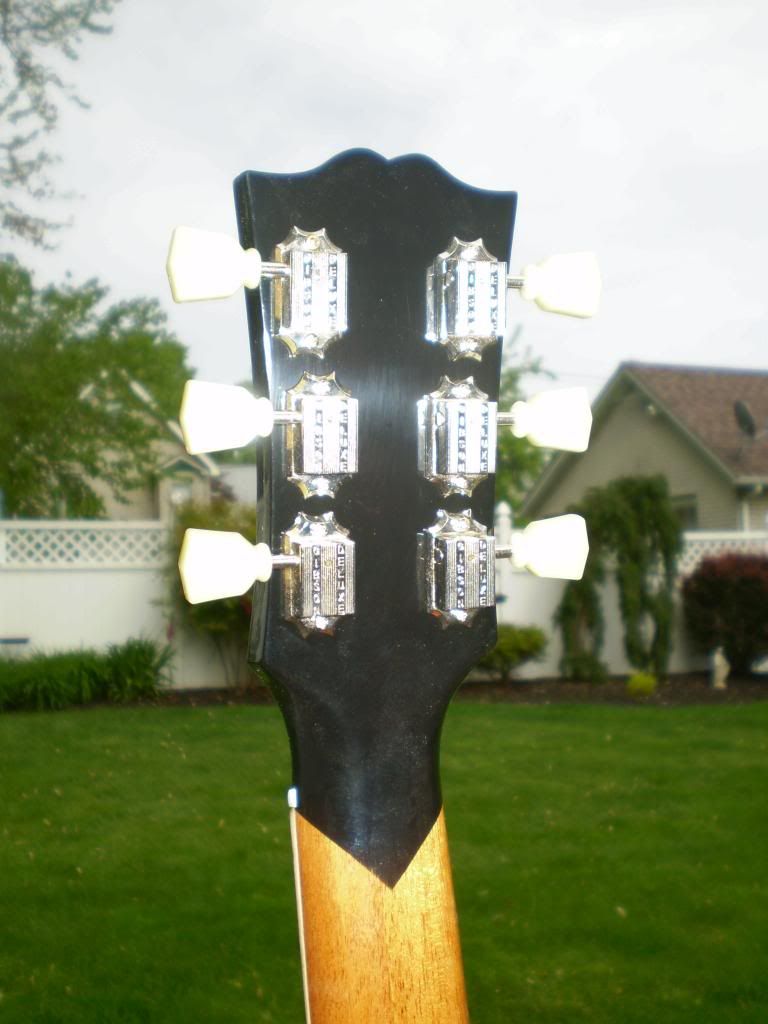
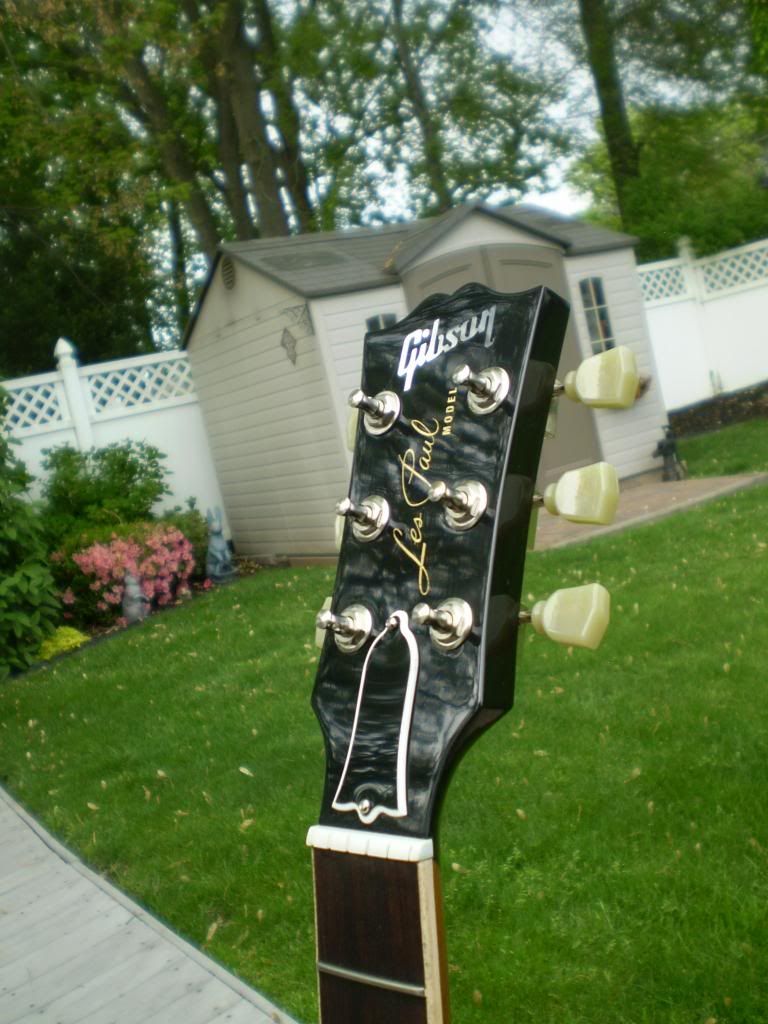
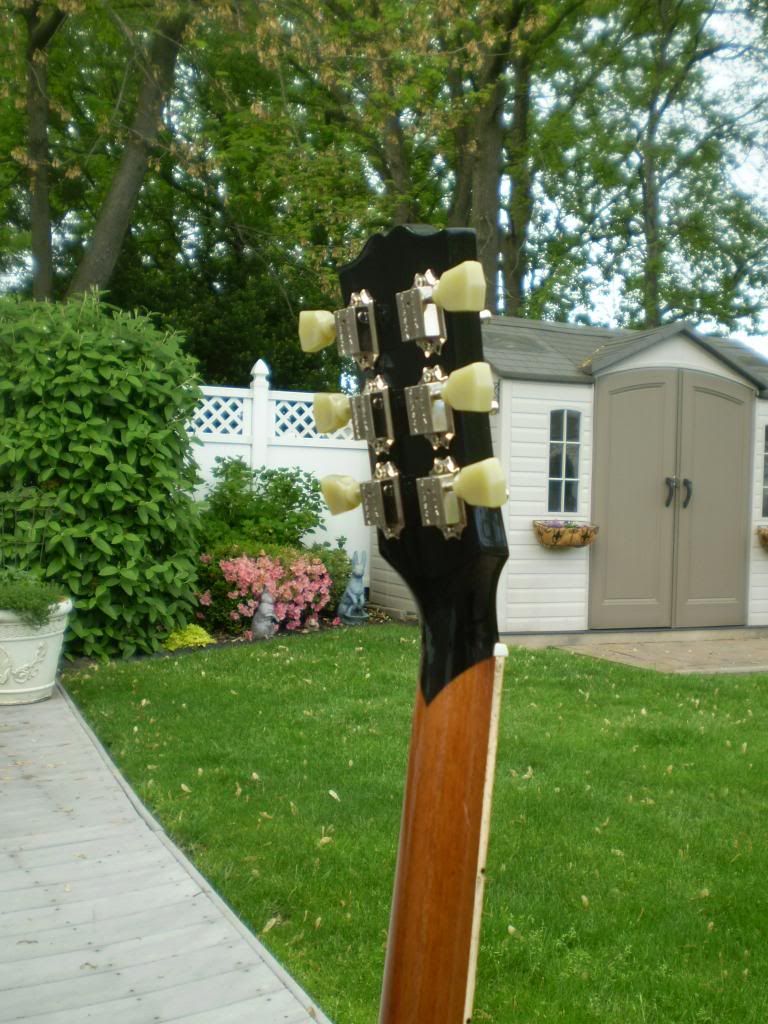
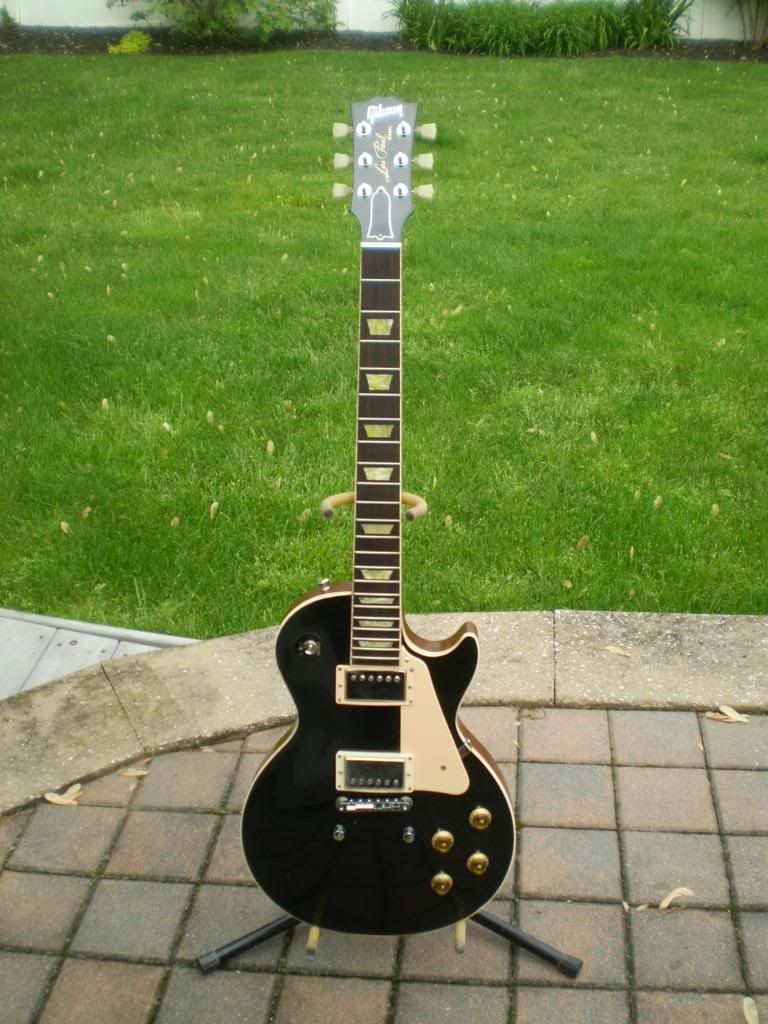
About 4 yrs ago I got an email from a guy who was looking to get a restoration done on an LP headstock. He was referred to me by a local Music Store. The guy sent me a couple of pictures and explained that he picked this LP up at a “Fire Sale”……
The guitar left the factory as a flamed maple top cherry burst LP. The year is unknown as the serial number was lost to the fire. Anyway not only was the top of the headstock burnt but the entire was finish was charred along with the back edge of the body. To make matters worse, this LP was in the basement rec.room which was flooded with 2 feet of water. So as the story goes the original owner dried it out, stripped the finish, sanded away the charred remains on the body and did a quick refinish on the guitar leaving the headstock in it’s current condition as seen here. :
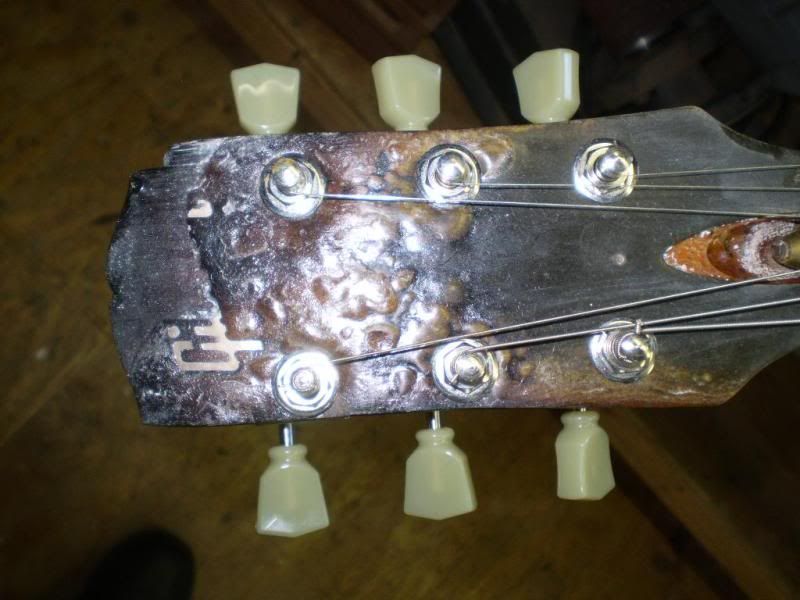
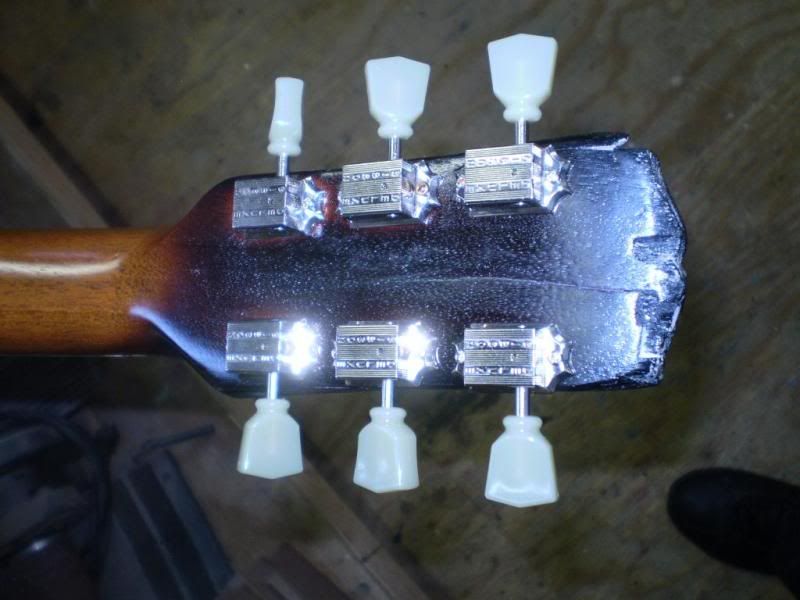
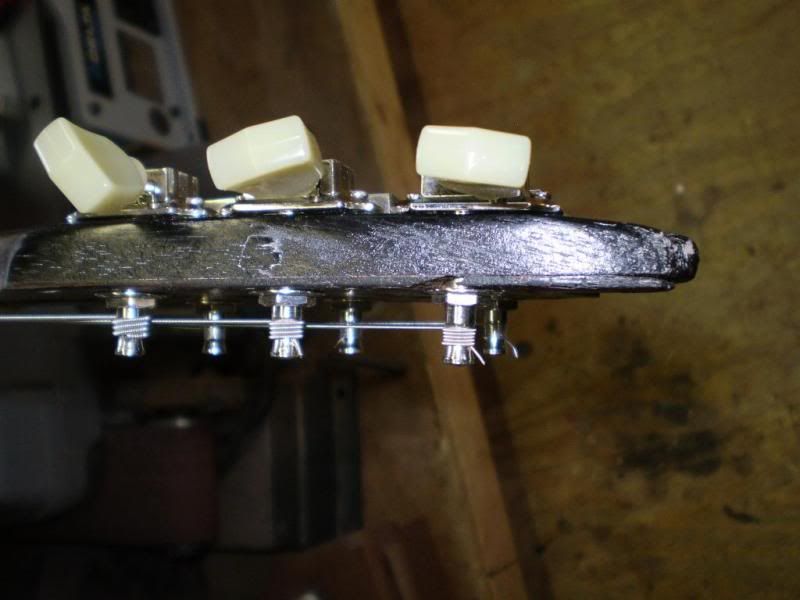
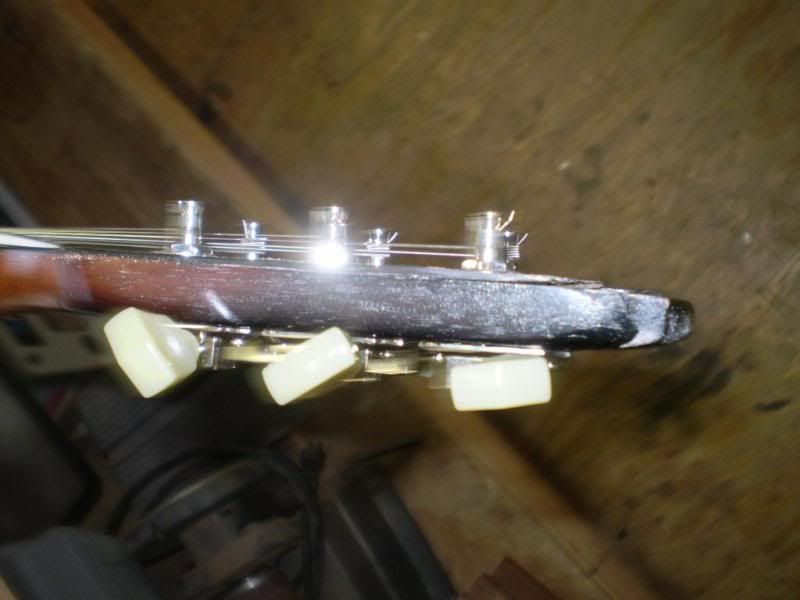
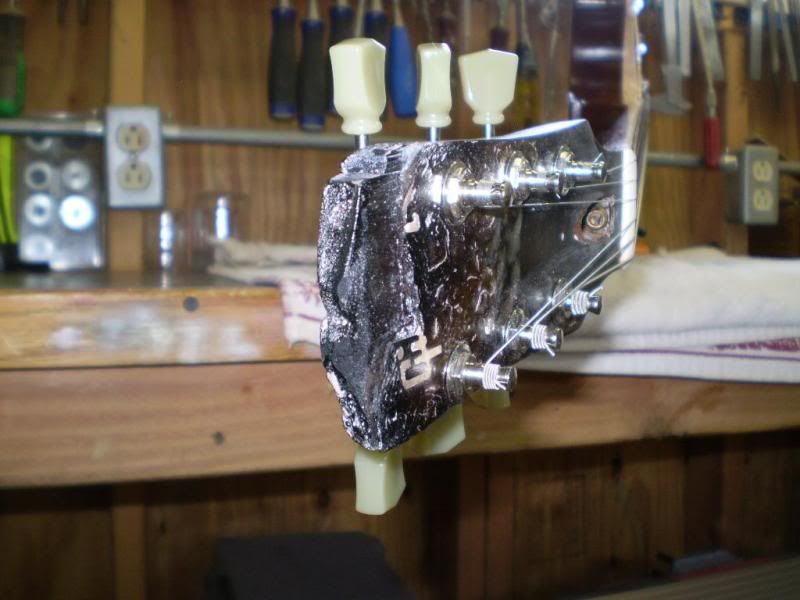
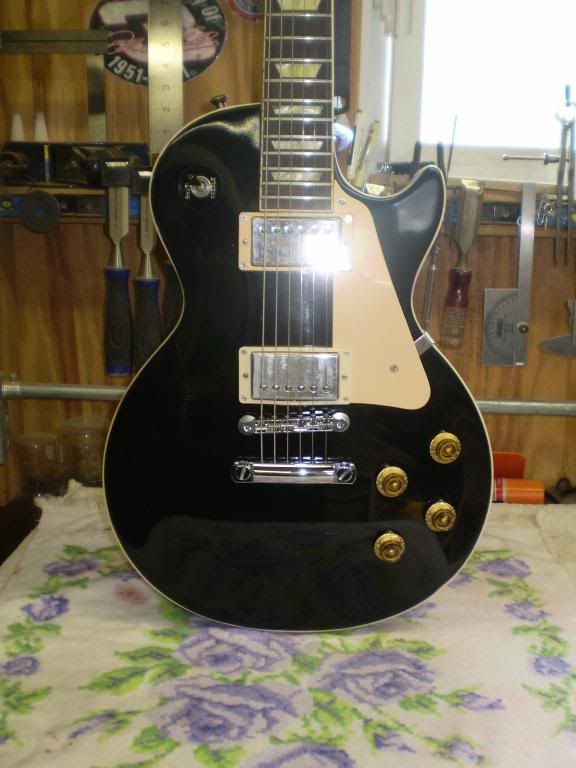
Here is the rest of the guitar:
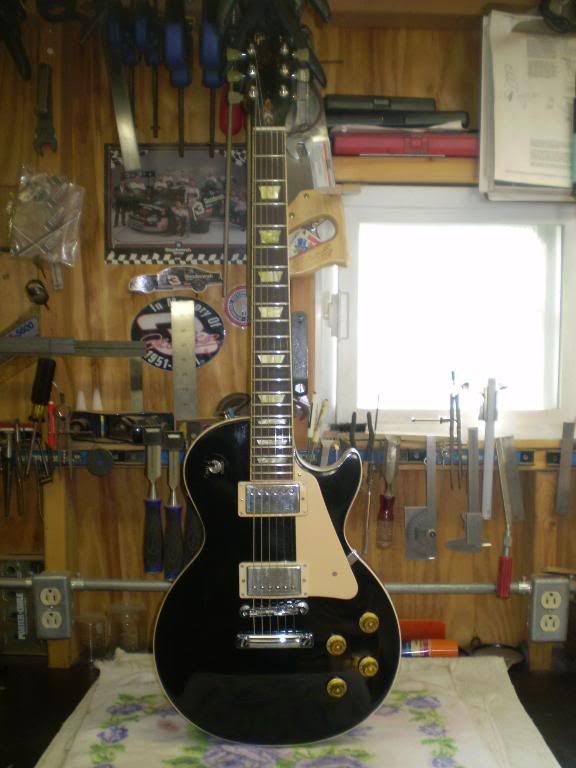
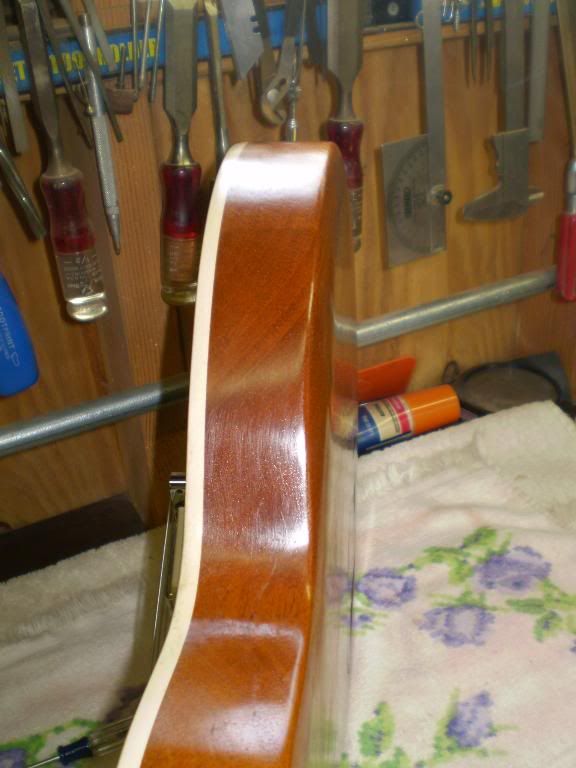
Here you can see how much was sanded on the body’s edge to get rid of the charred wood.
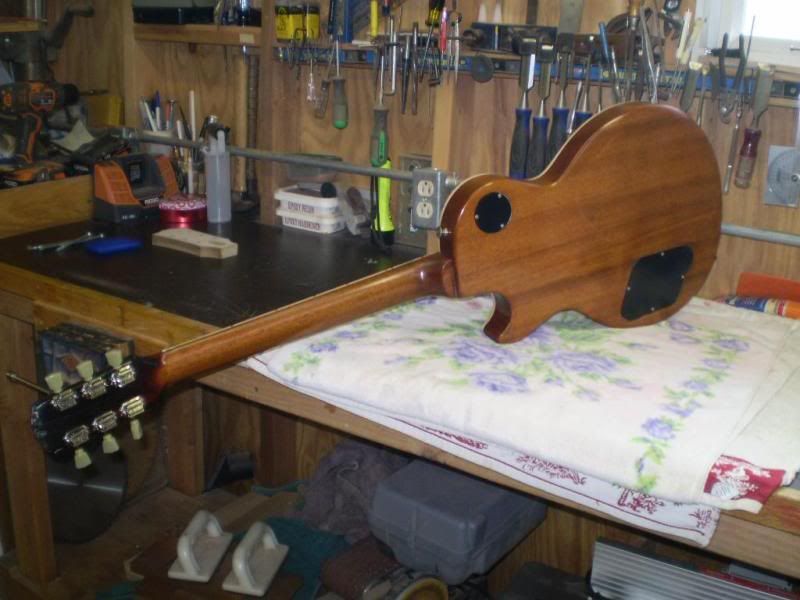
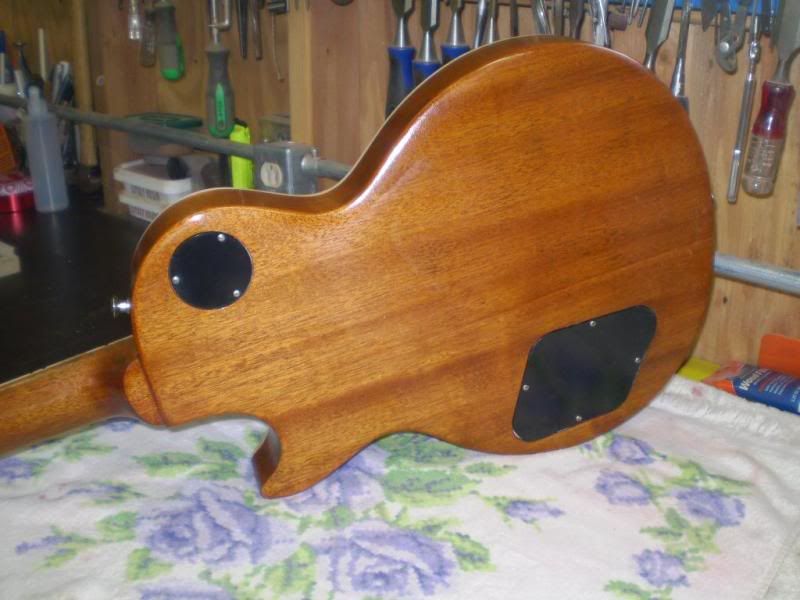
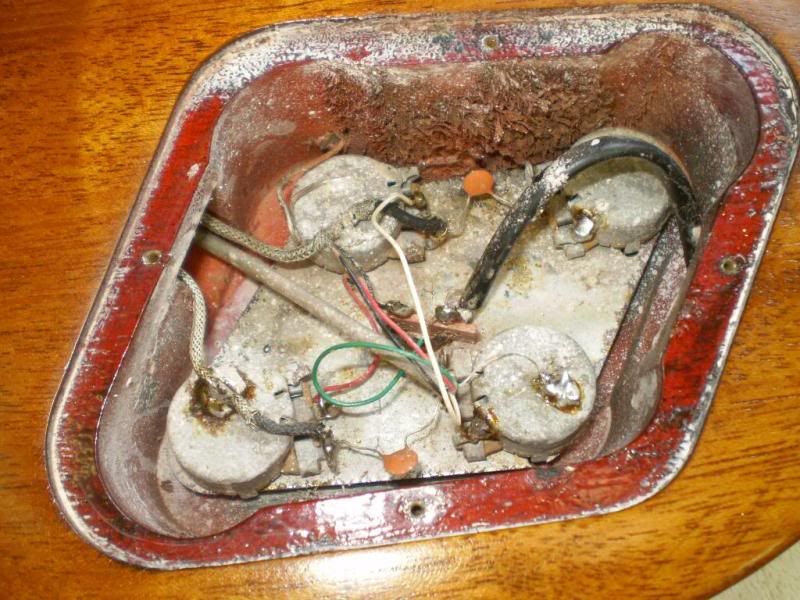
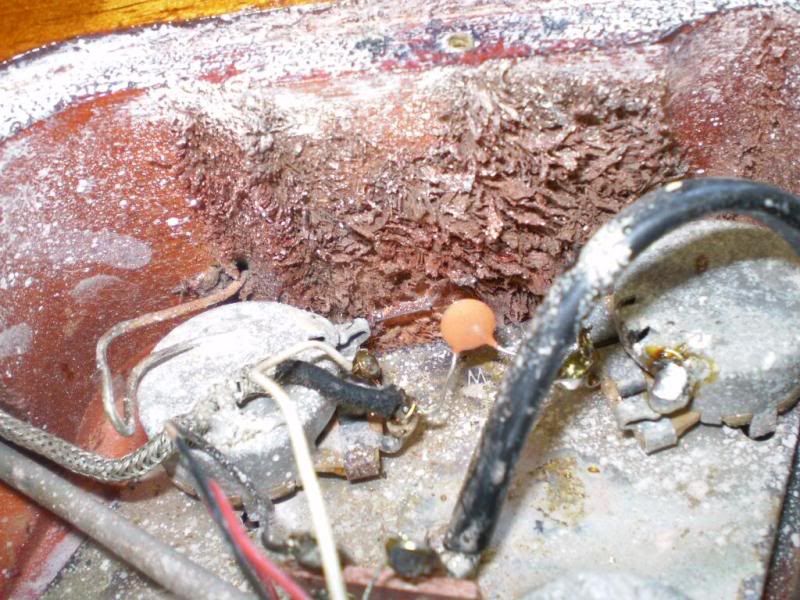
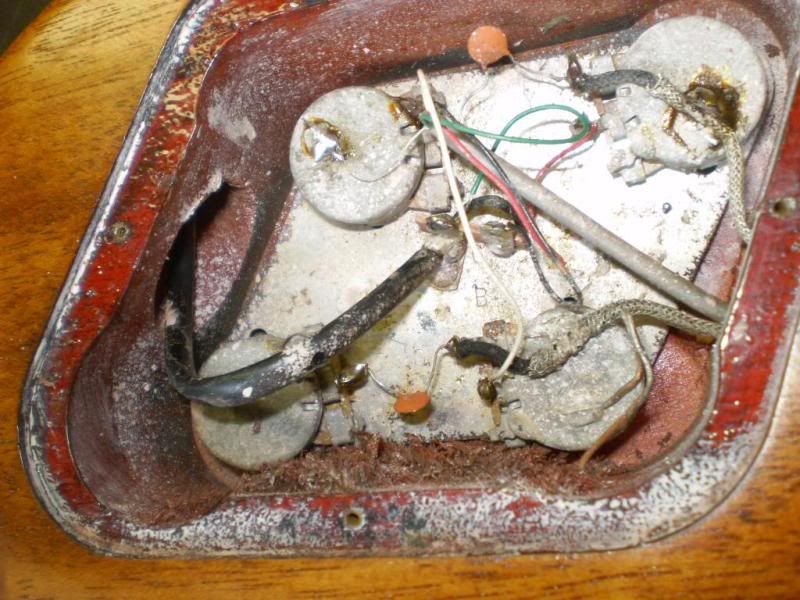
Nothing works electronically on it either as it still has the original water damaged parts. Note the “Moss” that has grown on the inside of the cavity!
Ok, on to the fix !
Pondering my strategy I decided on my plan of attack.
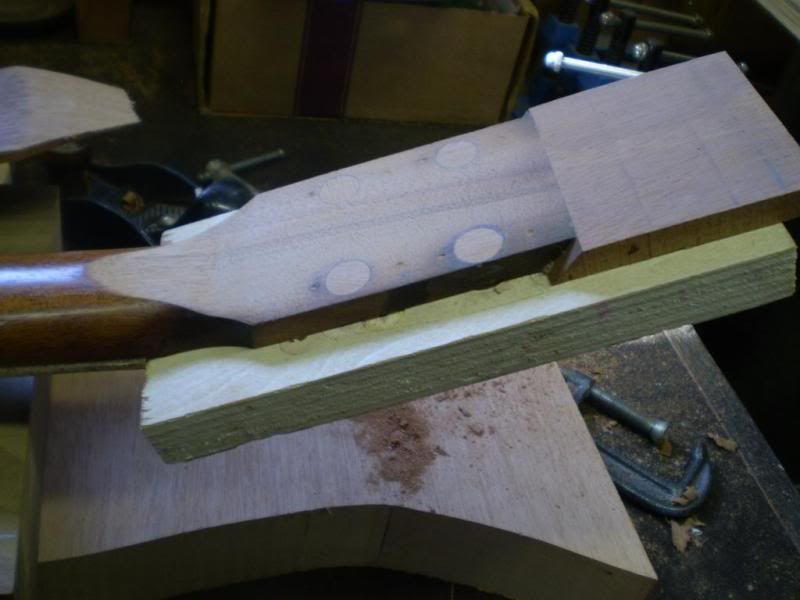
I cut the headstock at a 50 degree angle just above the middle row of tuners to get rid of as much burnt wood as possible while still retaining as much of the original wood as I can and then cut and squared up the sides.
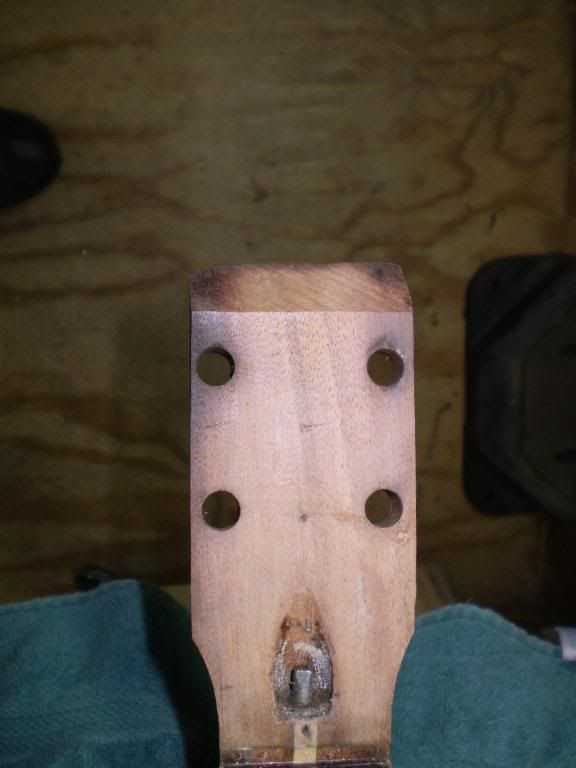
I also cut a piece of Mahogany for the headstock extention at 50 degree angle and glued it up between cauls to keep everything tight and square.
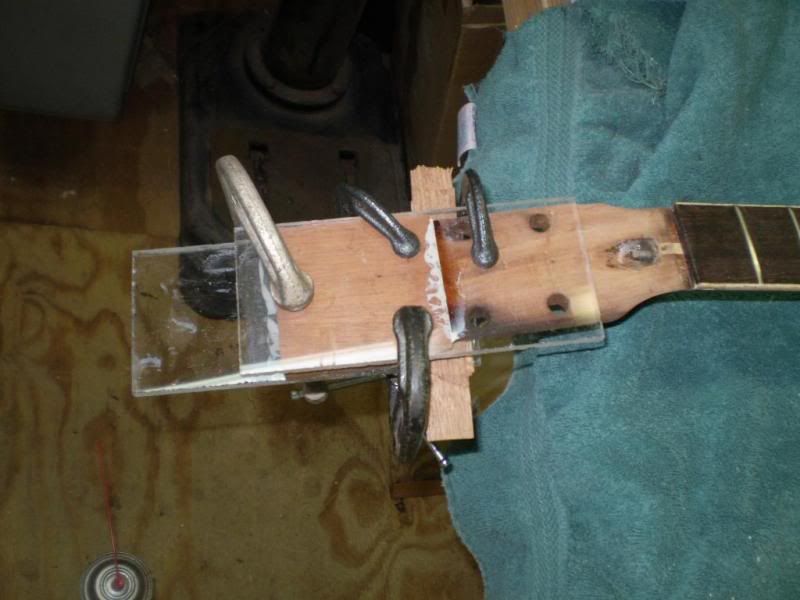
After drying for 24 hrs I cut about 1/8” off the back of headstock with the bandsaw and a fence as a guide to keep it as straight as possible.
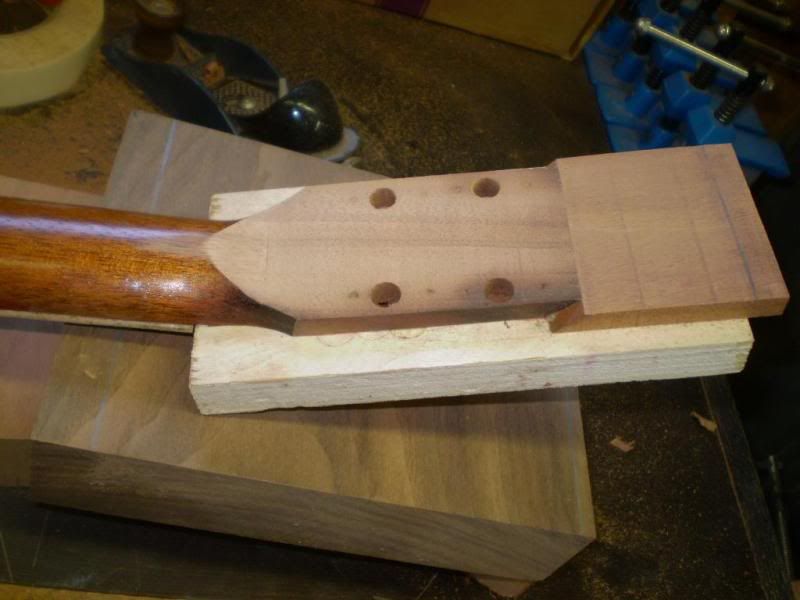
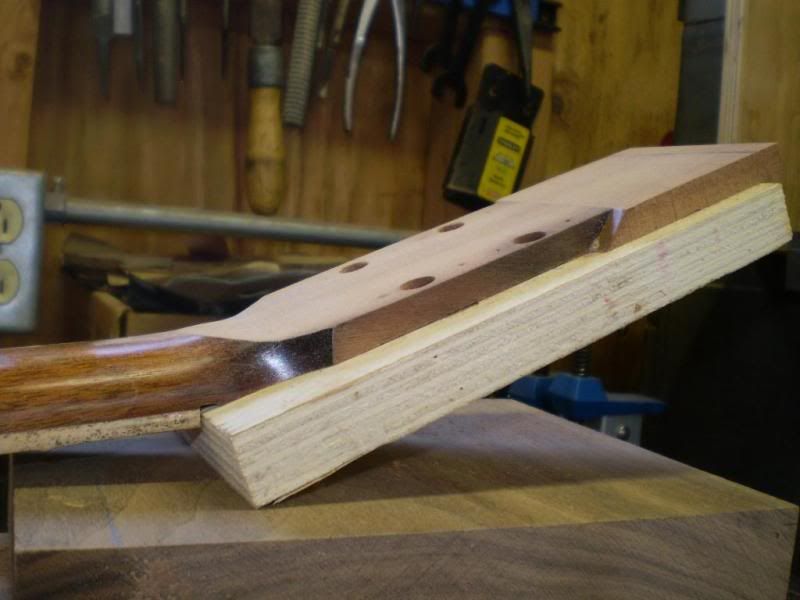
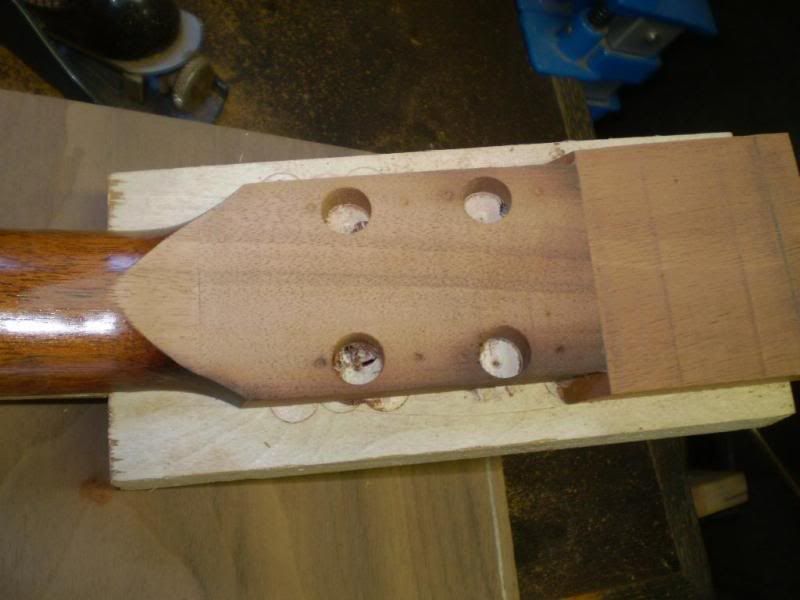
Drilled out the remaining tuner holes to a ½” and plugged them with Mahogany plugs I cut from a scrap piece I had.
I cut a piece of Mahogany slighthy thicker then 1/8” and tapered the lower portion and then bent it to match the angle where the neck meets the headstock using a heat gun after I steamed the lower portion of the wood to make it pliable.
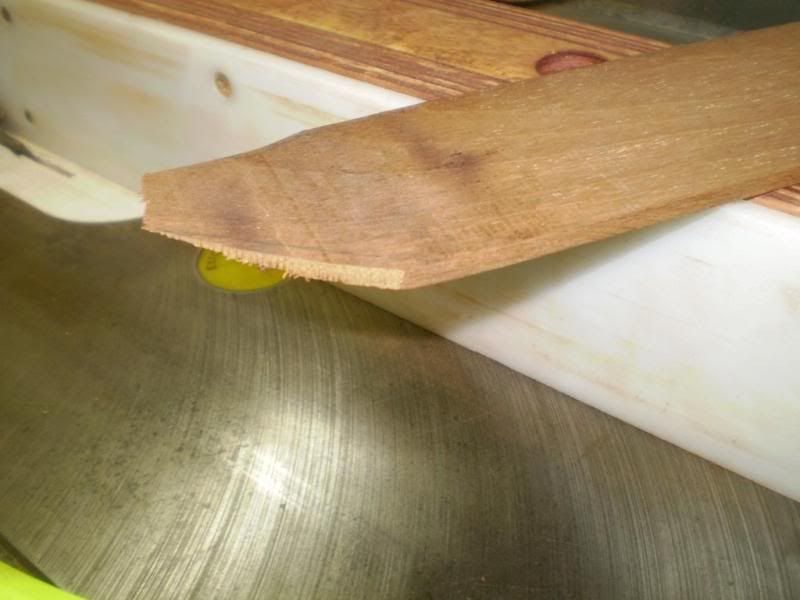
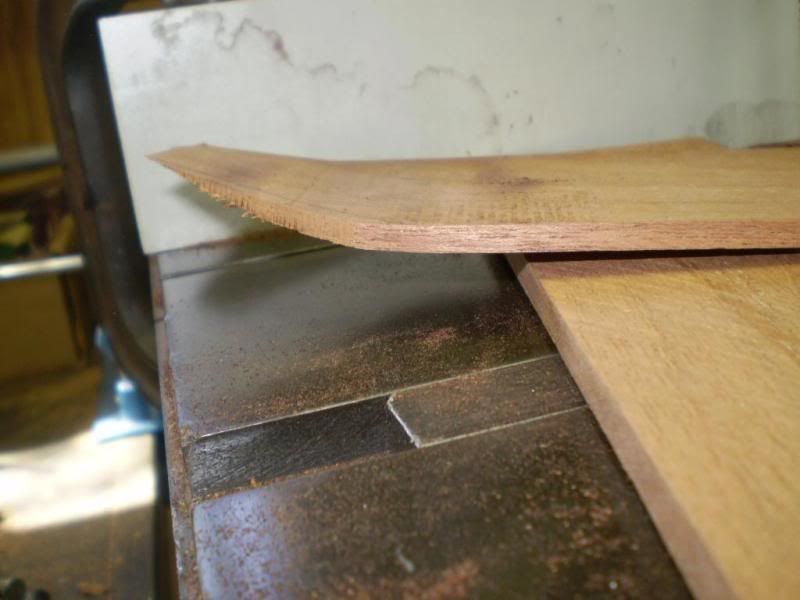
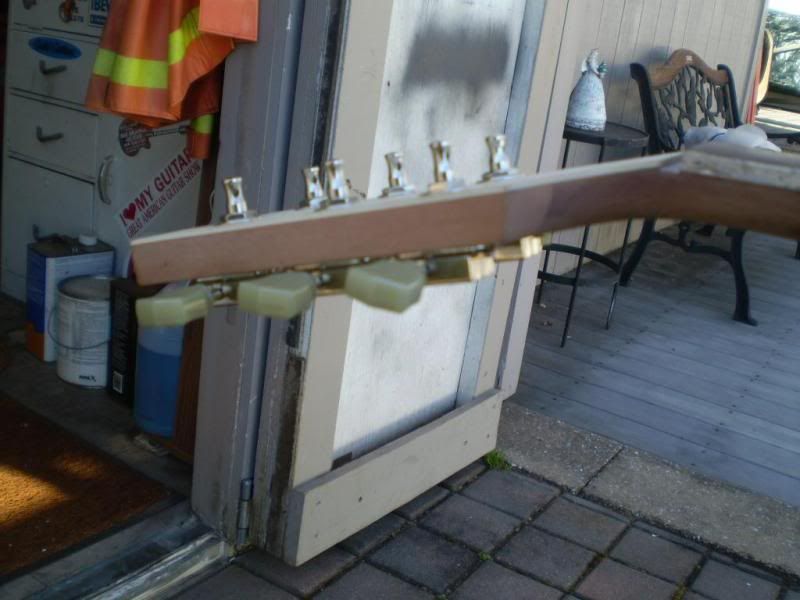
And glued it to the back of the headstock. Note the ¾” socket used to press the curved portion down !
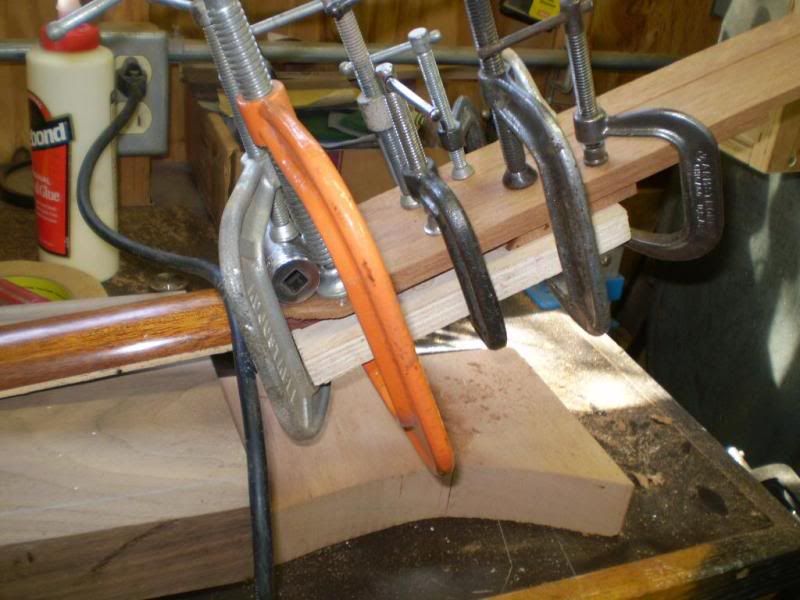
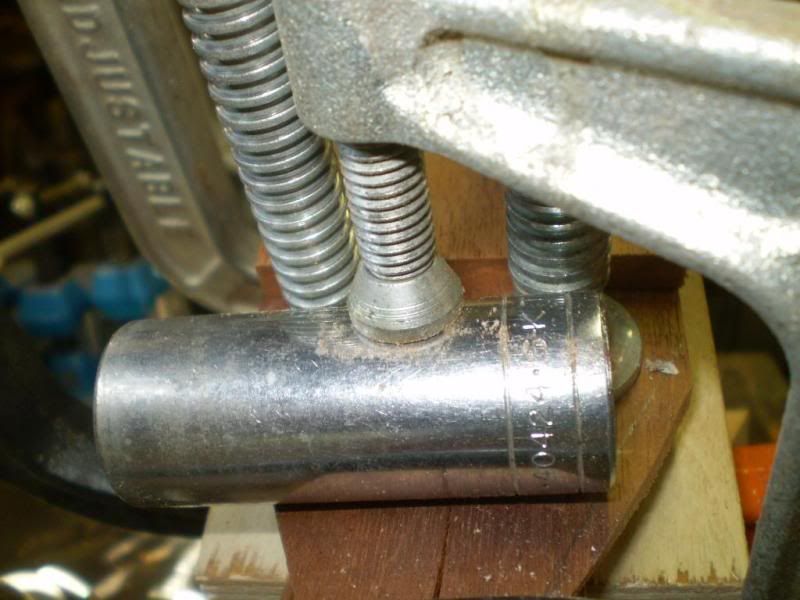
The back is built up but we’re not done yet.
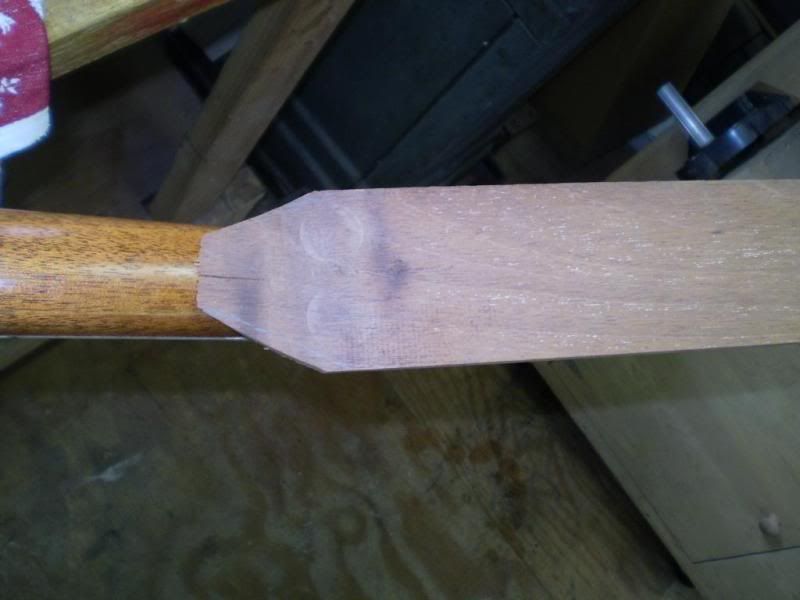
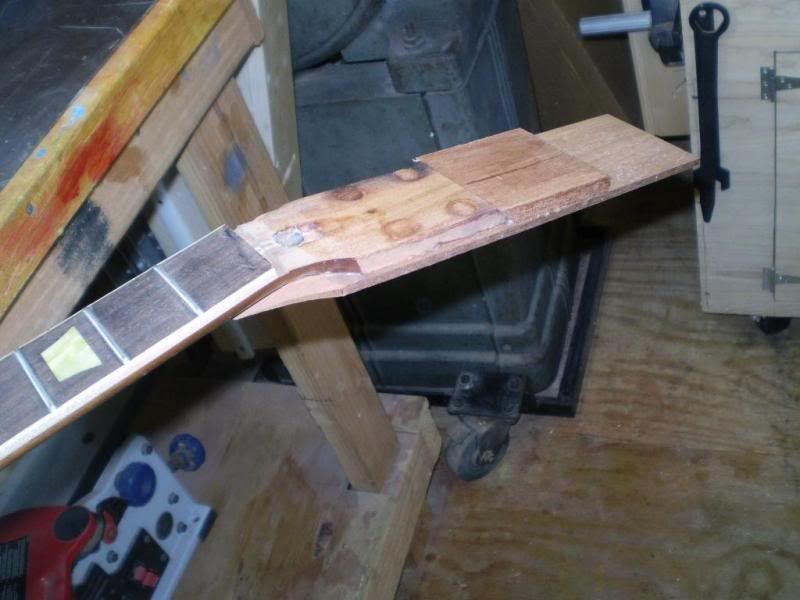
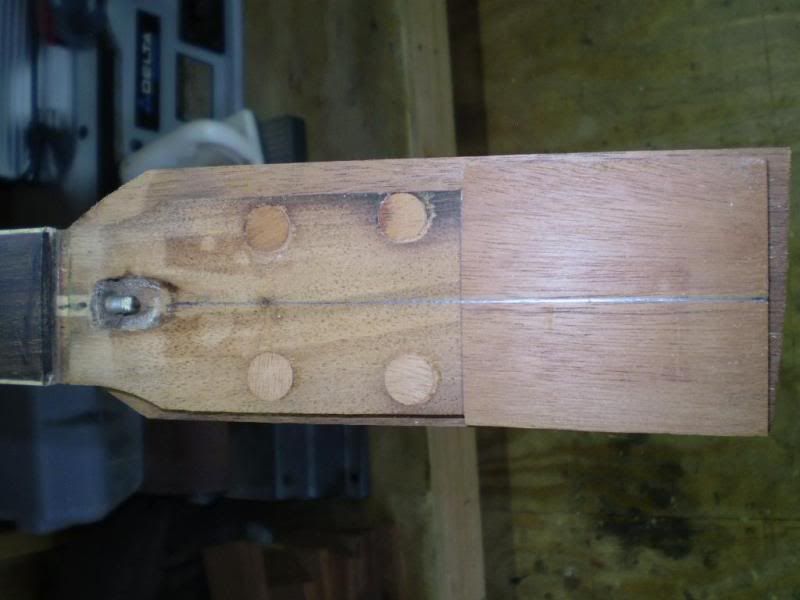
On to the front and sides.
Squared up the sides using a guide and the router.
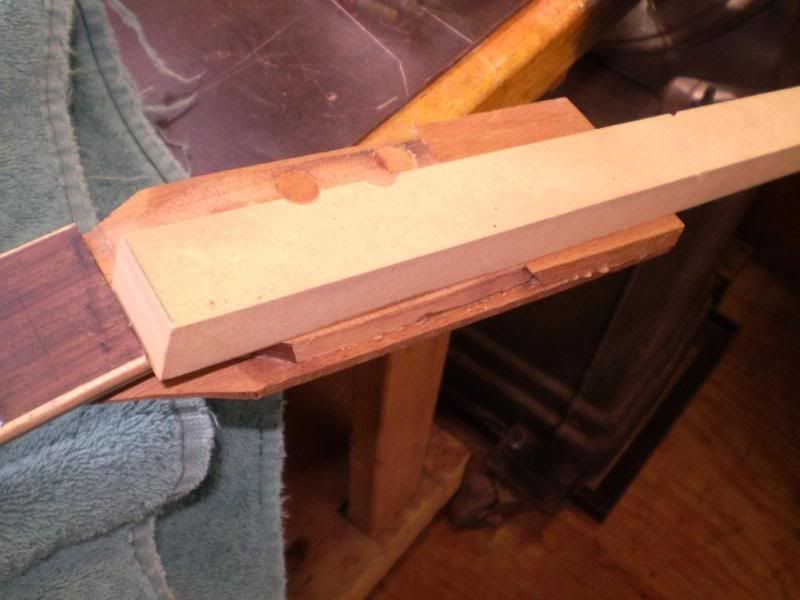
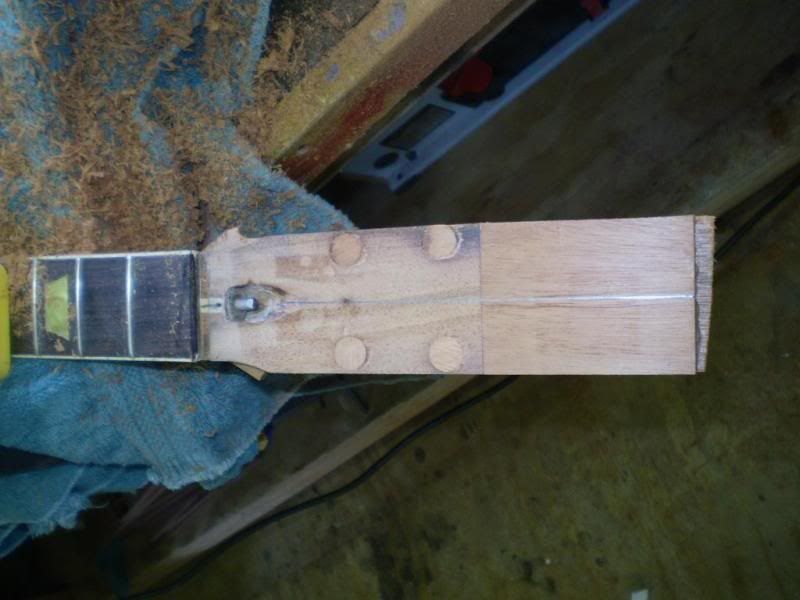
Wings glued on and rough cut to shape.
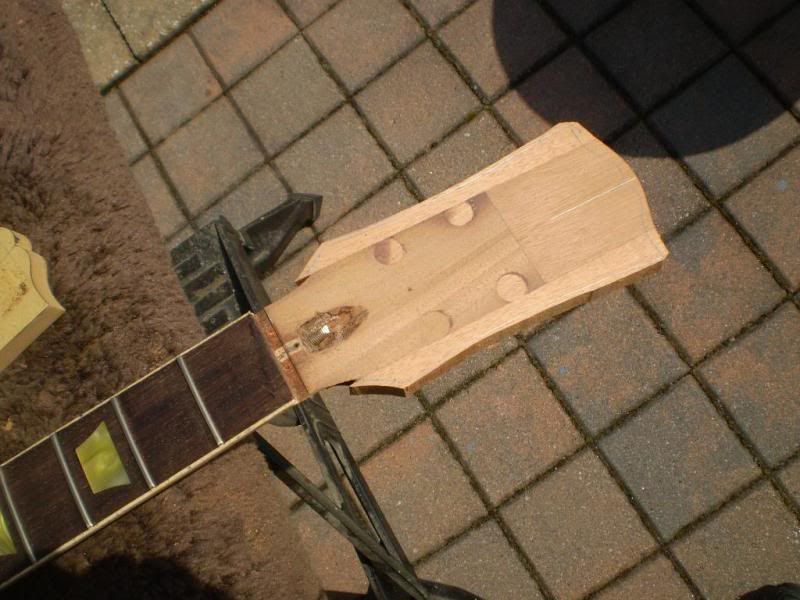
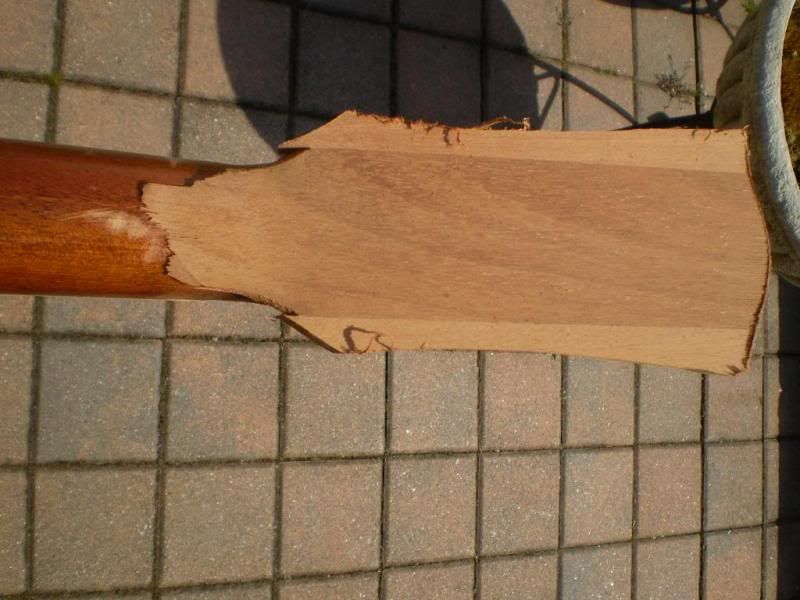
Final shaping done.
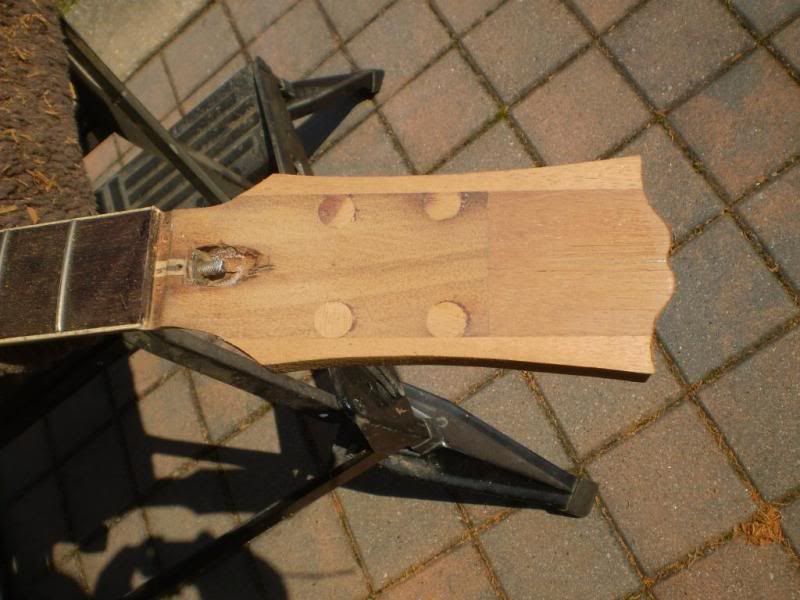
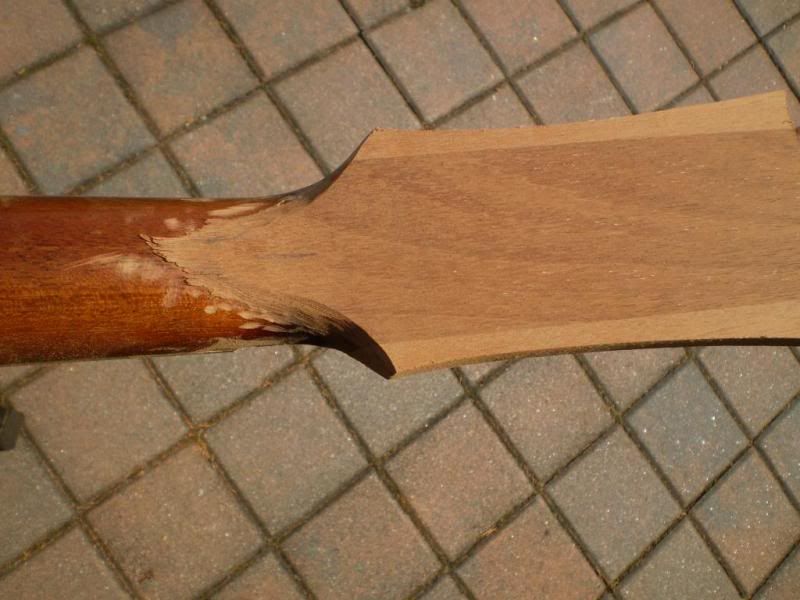
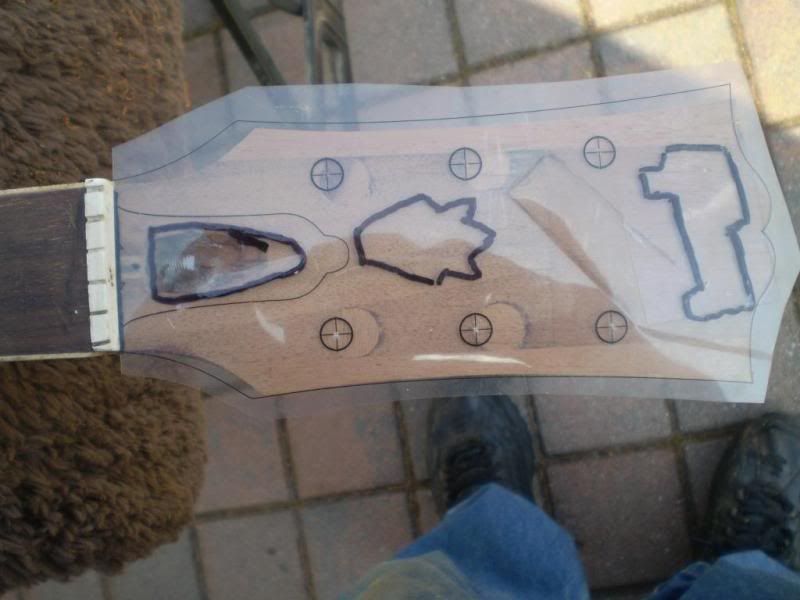
Using this clear copy I was able to properly locate the truss rod nut access cavity.
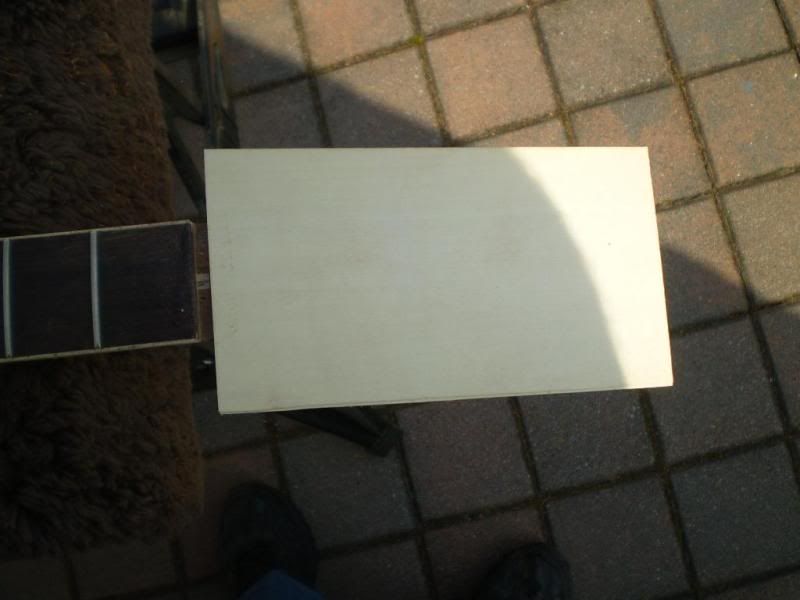
Fitting the Holly overlay.
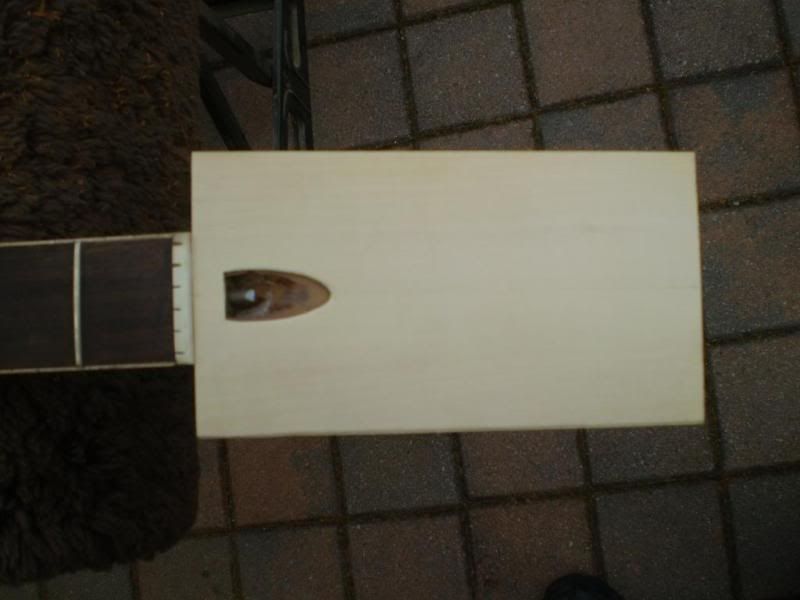
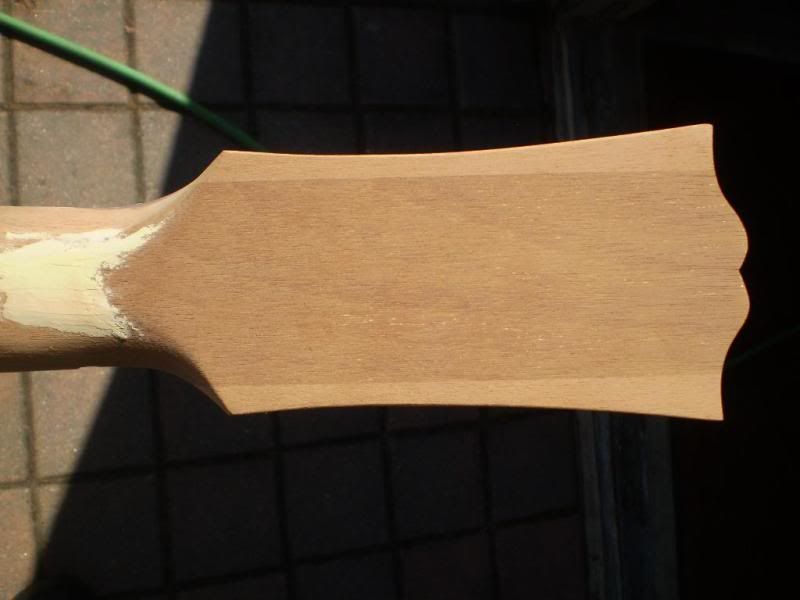
Front and back sanded, back overlay blended into the neck,
Holly glued up and shaped.
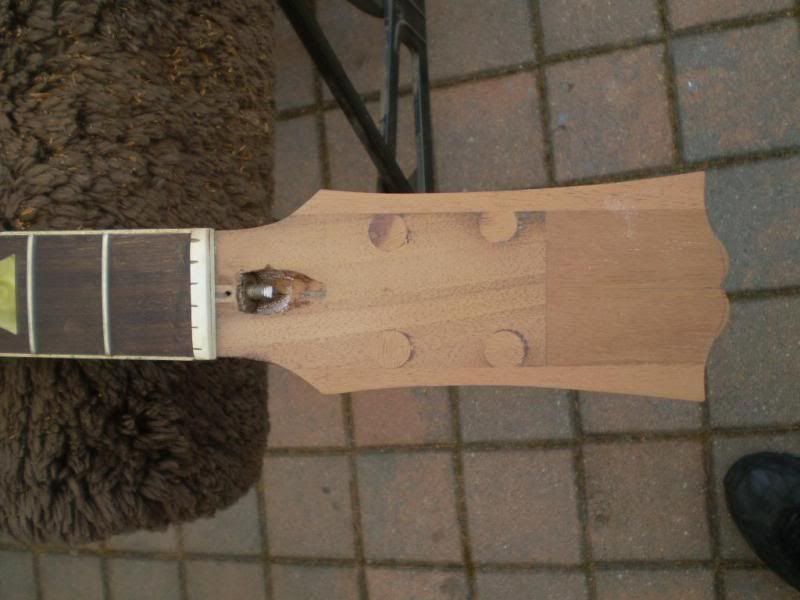
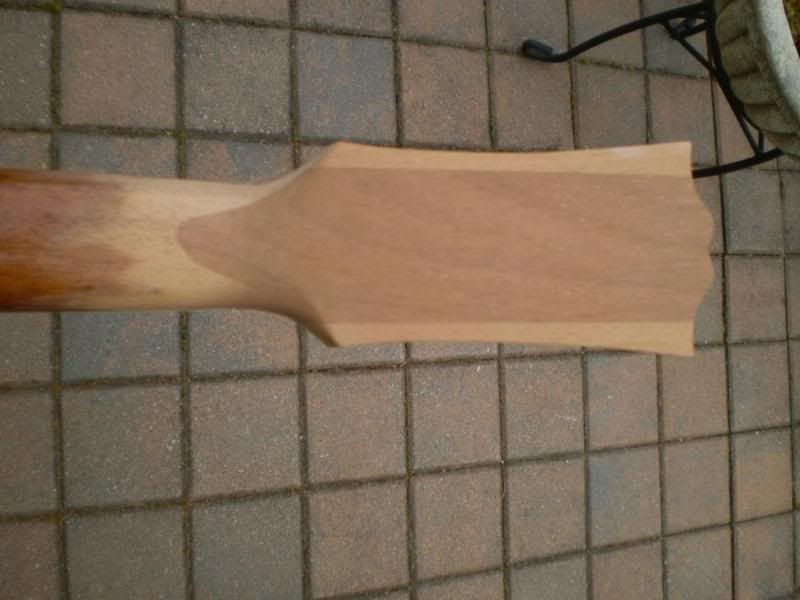
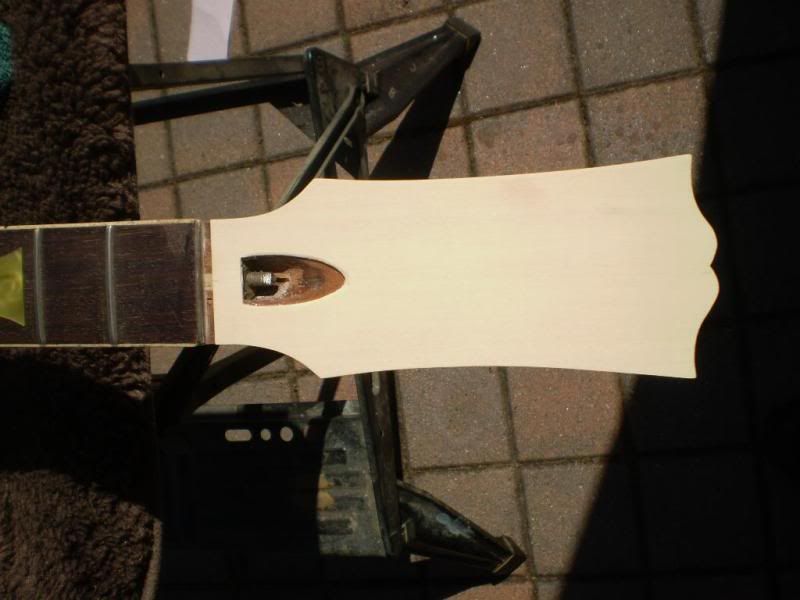
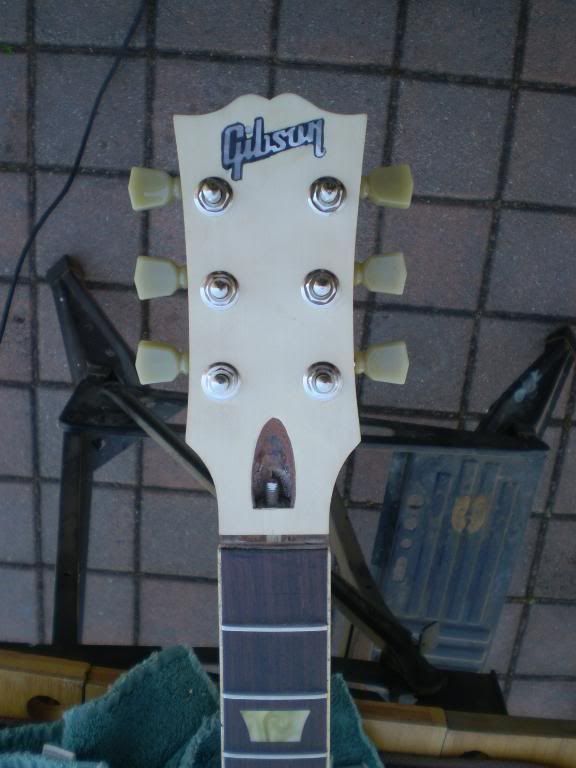
Tuner holes measured out, Gibson inlay marked out and ready to be inlayed.
Now, in my haste I forgot to take pictures of the actual inlay process but most of you already know how it’s done.
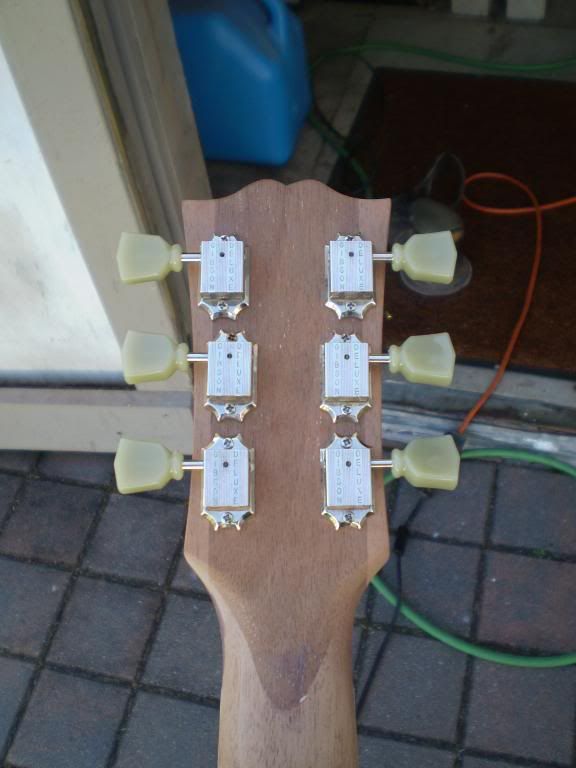
Everything got a final finishing sanding and fitted the tuners.
And last but not least…………the black dye applied to the Holly.
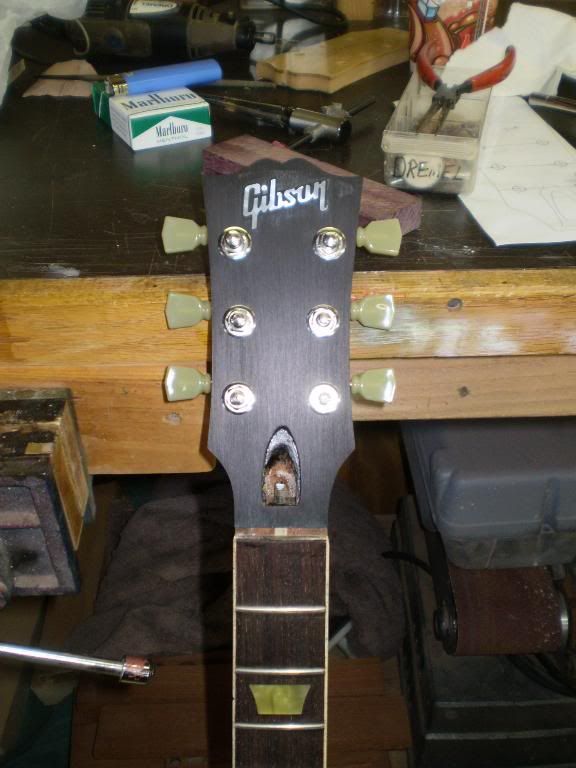
"Finished"
