OK. Duders here be that brace shaving plane making thread me been promising...
And yes

?adma gonna donate one of me
Brace Shavers as a
CONSOLATION PRIZEto the last place builder in dis here
NUBEe CHALLENGER BUILD OFF THING cuz they deserve sumptin for their efforts. Right? YA RIGHT!

These finger planes are a common design, found all over the net.
Stephen Boone makes a nice little one for brace shaving that he sells
for a real good price. Here is me quick and dirty version on a brace
shaver, a flat bottom and a curved bottom, all from an old Nicholson or
Black diamond file. Once you have made these 3, you will know what you
need your next ones to be like. Any wood will work, even a 2 x 4 but me
suggest a hard wood like maple, here me using birch cuz me haz a block
available, but

?adma, him have made them from all sorts of woods.
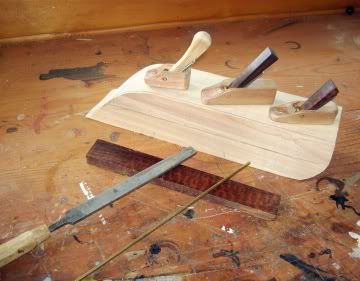
So
a chunk of wood, some 1/8 or slightly thicker brass rod and an old
Nicholson or Black Diamond bastard file. Me don't like the new ones as
they are much thinner steel Here be the layout....
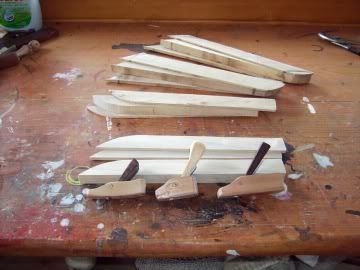
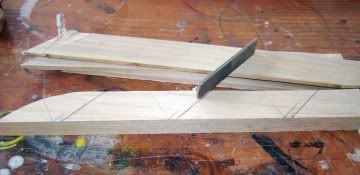
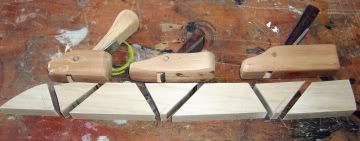
Cut a center piece slightly thicker than the file width. and two side
about 1/8 thick or thicker. The blade rests on the 45 to 50 degree angle
frog block. The other angle like most thinkgs, don't matter much. Cut out as in pic, glue
up and clean up the squeez out.
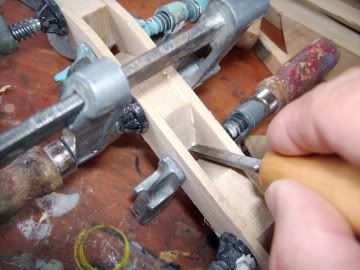
But
save the triangular cut outs for reinsertion to prevent blow out when
the holes for the rod are drilled. When dryed , cut out each plane.
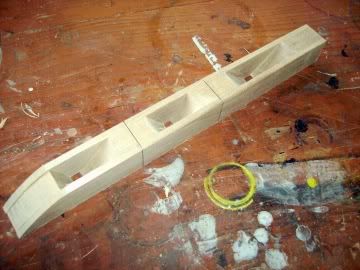
Lay out of hole is about 1/3 from the top edge and about 70 to 80 degree
angle up from the bottom were the 45 degree face of the frog meets the
base.
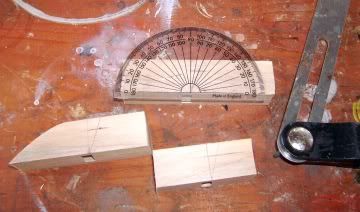
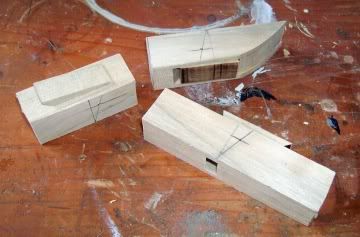
drill hole the size of your rod (brass rod)...me uses 1/8 inch rod and a nail works too! Do you work?...me don'ts...no way ...me like play in shop...make stuffs and and and...never mind.
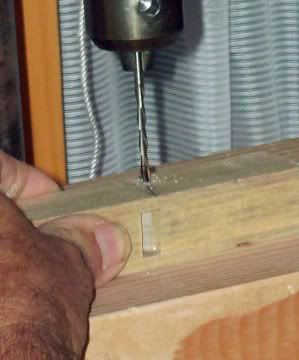
Band saw out the shapes you like.
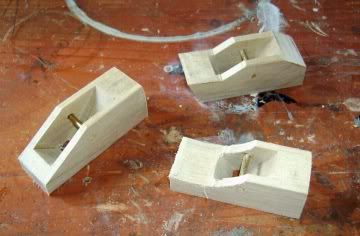
Cut brass rod to length. Tap through and file or belt sand off. (don't got
any rod, use a nail) Grind the file into 3 or 4 pieces. Grind one two,
quench 3,4, 5. grind one two, quench 3,4,5,6. grind one two, quench
3,4,5,6,7 and so on. Be
very careful not to over heat the file or you
loose the temper then what? Me no like loos temper...gives

?adma indigestion.
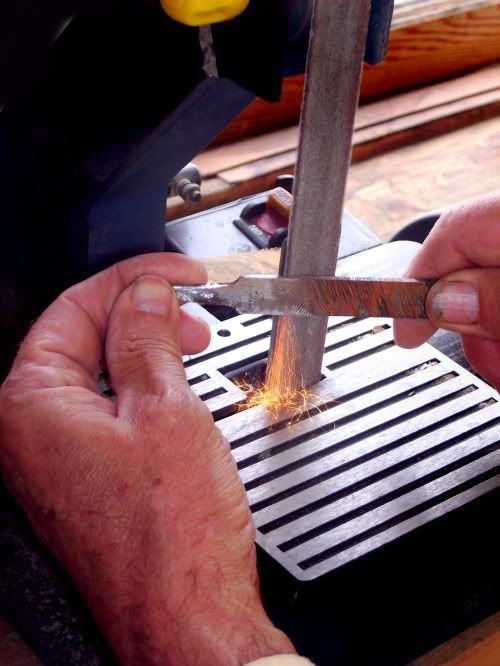
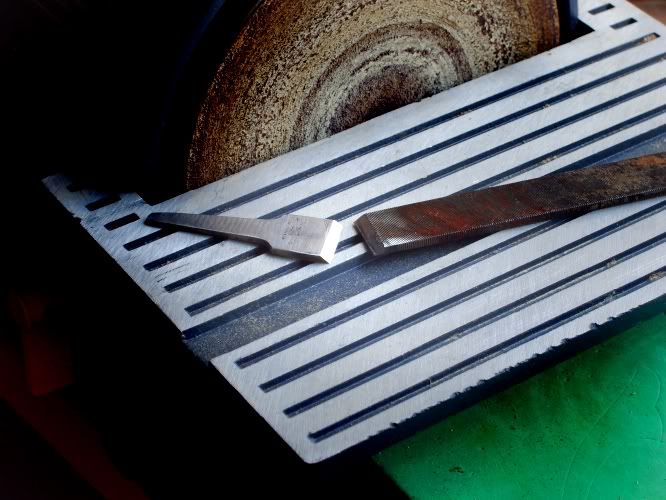
The rabbit plane on the left will be covered in another post
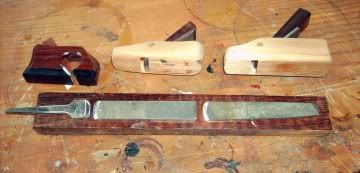
Or...
if you want, the file can be annealed, then cut with a hack saw and
filed to final blade shape, but not to the final sharpen as a sharp edge
will tend to crack when hardened. Harden at about 1500 degrees or cherry
red , quenched in oil, . Then to bring it up to R60-62, temper in the
oven at 400 degrees for 25 min. and cool slowly. Now do your final
sharpening and hone them up. All thats a hassle so me just grind
the hard file nice and slow. She likes better that way, well so she tell me.
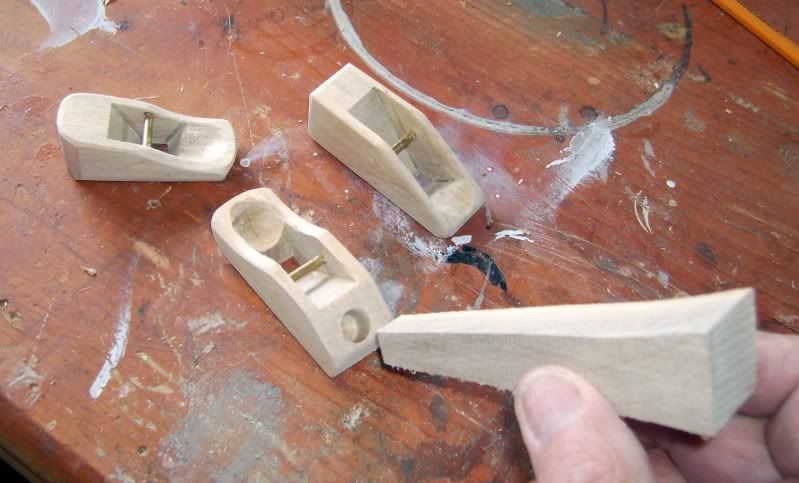
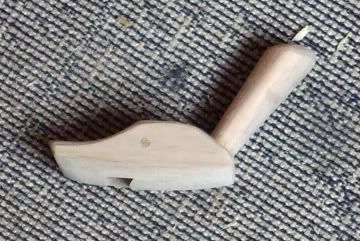
Cut a wedge shape piece and file, carve or belt sand into a cone. Round the
top. Drill a hole parallel to the blade and insert the cone as a push handle. Or if you got a
lathe ...make a nicer one.
To hold the blades in place, experiment with different wedge angles .
Shape two file blanks to a straight
edged iron and another into a curved iron. Grind the edges and a portion
of the back and front flat and smooth removing the cross cut teeth of
the file. Grind the other end square Sharpen and hone the two straight
edge irons. Do not sharpen the curved iron just yet. Then cut your wedges
to hold the irons. YOu might have to mess with wedge angles. Inset the wedge and iron and test the two brace shavers out. Tapping on the heal with a small hammer will retract the
iron, tapping on the toe will extend the blade it. Its an in and out sorta thing. Me usually just bang it down on the bench top to move the iron around. Ever wonder what moves you around?
Choose one for your curved bottom. First round off the bottom with a rocking back and for
forth on the belt sander, then a side to side and then combine the two
movements into a circular motion untill you gotts it convexed.
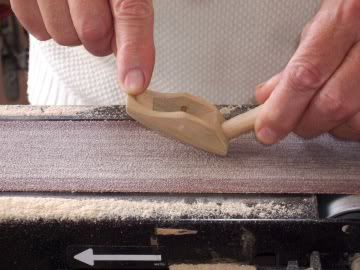
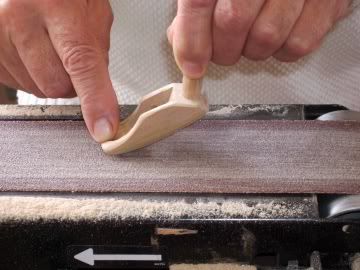
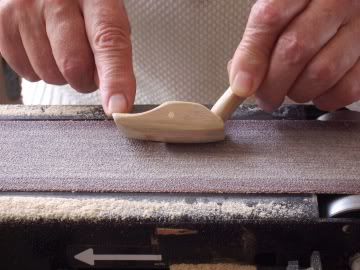
Once upon a time, long ago when the bottom is shaped to your liking, inset the rough curved blade blank, held in with a wedge and repeat the rocking on a belt sander with
an
old belt save only for metal until the desired profile of the blade is
obtained ...then remove and sharpen the blade. They should look something like this when finished.
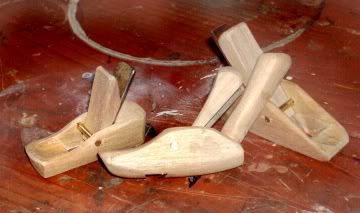

note were me ground a hollow for me finger to fit better.


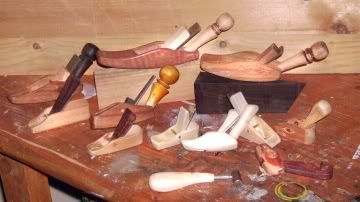
Here are some other ones me has made.
Note the little hammer made from the
end of a truss rod and used for setting the wedge and tapping the blade
into the desired position. Any small hammer will do just fine...well almost any.
Note that some of the curved ones have a rather long toe on them, this really helps
in puttin the pedal to the metal when carving out arch toppers.
Plane making is kind of like eating potato chips...you can't make just one! Me gots a drawer full of them...some work better than others... but hey...a chunk of wood, a few old files, twist up a beer and smoke on. Nice no brainer way to spend an evening in communion with yer creative juices.
Summary...
grind up some old files, take a piece of 2 x 4 and make some plane
bodies. Once you have played with them for a bit...you will
know exactly what your needs in brace shavers or curved bottom planes
are then make them out of more fancier woods.
3 planes, 3 beers, 3 hours and me don't be work fast no way no how.
Push handles really help on curved bottom planes cuze you gotts a lotta
wood to remove in an archtop.
Also for archtops me suggest a
3/8s convexed,
1/2 in convexed ones, a few short and a few longer, the shorter ones without push handles,
a few 5/8s and 3/4 in ones with long toes and push handles.
Ya so grind up a few blades and wap out a whole bunch of bodies...find the bodies you like and then make the blades for them. Throw the rest out just like the swill in the bottom of the home brew.
Now regarding the last place in this here
NUBEe CHALLENGER BUILD OFF THING whos it gonna be?
blessings

Padma
Ps:
Now don't non of you dudes go be askin me about drawings with measurements...the file
used in these pics was a 1/2 Black Diamond...so scale your measurements
accordingly.


